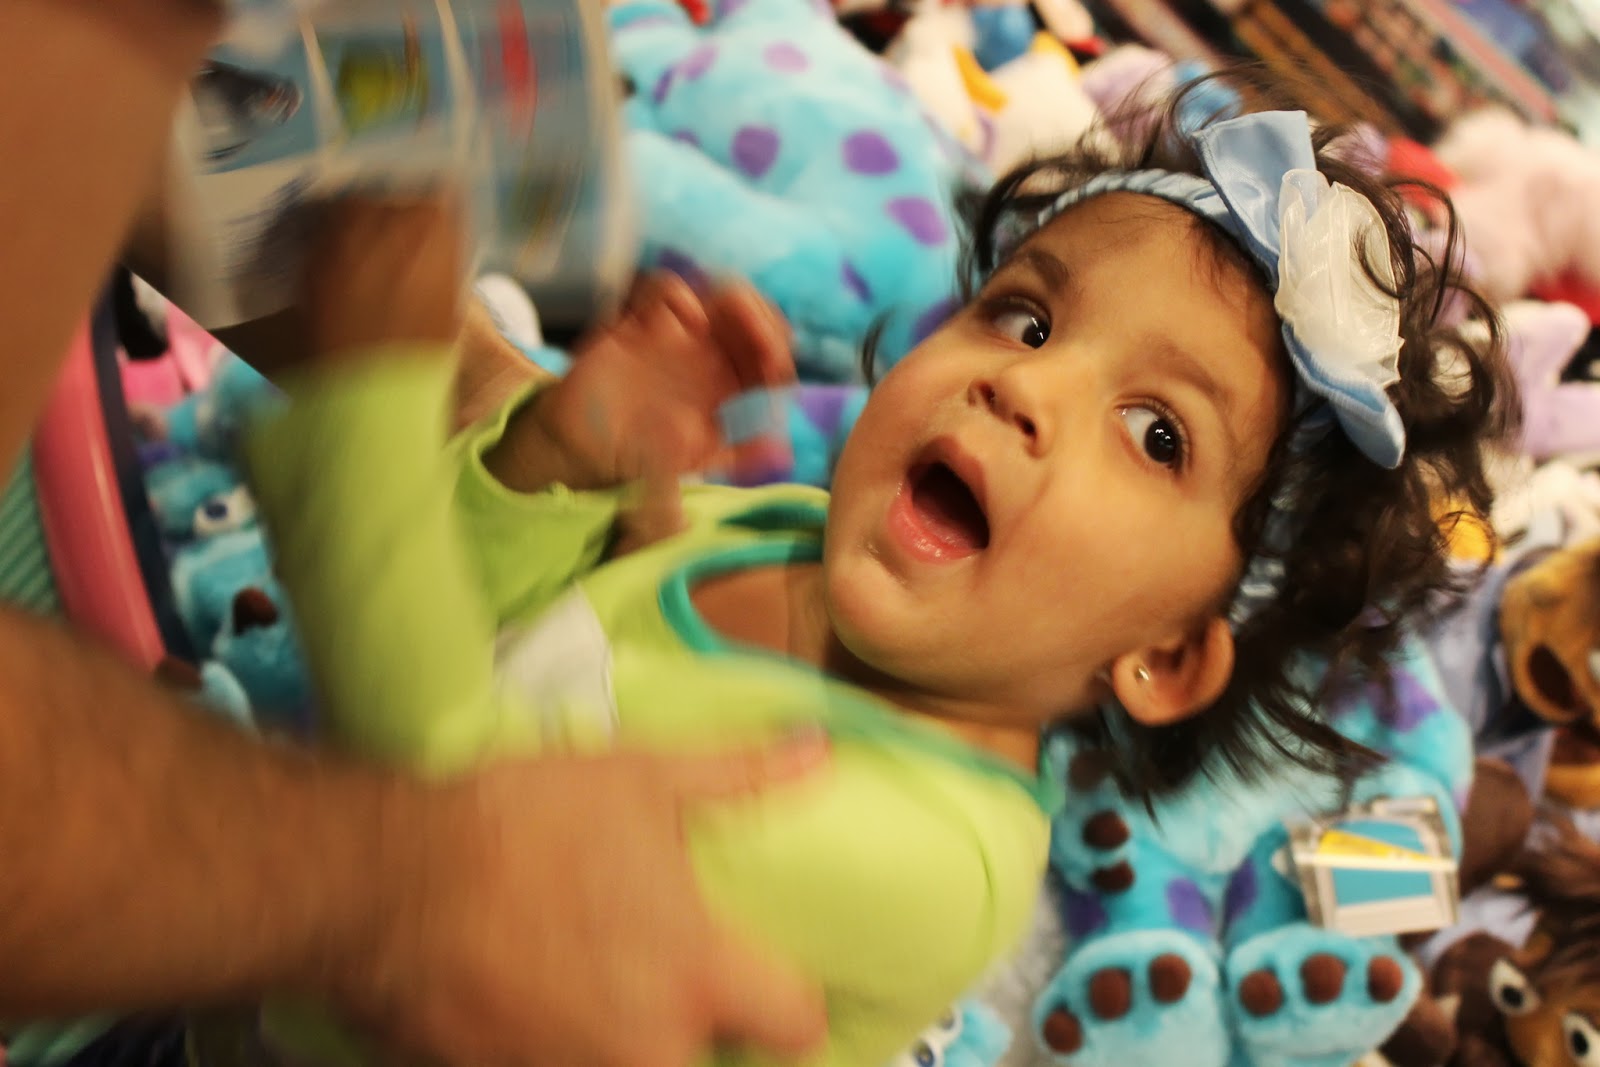
I am playing along with Ali Edward's Day in the Life once again this month. This was an even more average day than usual because we didn't do anything during the day. Just stayed home, made soup together and they vegged out while I tried to get caught up on projects. Luckily, Daddy came in home in time for a trip to the pool.
I am working on my album now because if I don't get it done now I know that I may never. Fingers crossed I can get it done tonight. You can see my progress on my Day in the Life mini album here.
---------------------------------------------------------------------------
OK, I am back! I sat down and got it all printed out (mental hurdle number one). Then I put it all together in my little mini album, and honestly, I had a blast doing it!
I love to have a see through element as my monthly divider. I have used a lot of transparencies, but I decided to try something a little different. I found a dear Lizzy die cut card that I loved (and needed to stop hoarding) and sewed it onto a strip of vellum so that it could lay outside of a page protector. And, then because I can't seem to leave my watercolor set (I have been using a Kid made Modern set from Target) alone I added a bit more pink to the top and then painted some JBS lemon drops paint on the bottom. It turned out kinda like that fabulous washi tape from Studio Calico last month.
Right behind it is a full 4x6 photo of Nandu. The white letter stickers are from the Studio Calico PL kit.
The left side is photos and the right side is journaling. I suppose I could switch it up, but I like the 2 inch squares, so each 4x6 collage holds 6 photos.
I stamped a few summer sentiments from the Studio Calico Elise Blaha stamp set. I'm kind of a stickler about the literal meaning of stamps so I had to wait until June 21st to use most of this set. My weird OCD side coming out.
There are four total 4x6s glued together back to back. I make a hinge with washi tape in between the layers so that it is hidden. Then I can flip open the page to reveal the rest of the days photos.
One more Elise stamp that looks it was made for this photo.
I used a Paislee Press/Studio Calico stamp set on this side. I stamped mostly with watercolor so the effect would be subtle. I tend to use a lot of patterned paper in my projects, but I like that this album is coming out differently and uses other techniques to embellish. Makes me more creative and helps my pages feel more cohesive without having a pre-assembled kit put together for the whole year.
I continued the Paislee Press theme with this stamp on the inside of my journaling page. A little bit more of dear Lizzy die cuts and fabric stickers for some low key embellishments. This mini album is all about simple.
I had the back page stamped with a black border too but I decided this spread needed a bit more texture so I dip dyed some ribbon in watercolor and stitched it onto a piece of scrap cardstock. I glued this to the outside of my page protector because I am serious about that texture.
Thanks for looking. I hope you liked this little installment of my Day in the Life mini album.
Wednesday, July 3, 2013
Monday, July 1, 2013
Project Life: Week 24, JBS Historian kit
This week: We really started to get in the swing of things. This website of fun free things to do in Austin really helped. We went to a kid's festival in the park, the free night at the museum and a free showing of Muppets take Manhattan! So, I guess this spread is kid dominated. We did have a lovely dinner out at this Mexican restaurant downtown (with the kids of course, we don't know any babysitters here yet) but the only picture is of the children. Better luck next week on more balance I guess.
Oh, and this week is entirely made with the new JBS Historian kit for project life. The kit is packed, I used a ton of cards here and on layouts for layering and still have plenty left over. So awesome.
First Page: I love the deck of project life cards from Basic Grey. The explore card totally reminded me of the hills around Austin. The flair fit perfectly inside the papercrafting kit stamp.
I have to make a really conscious effort to include more white space in my spreads. I kept the peony photo simple with just a few BG white alpha stickers. A reference to the fact that Nandini makes me sing 'Edelweiss' fifty times a day now.
I used gesso and the awesome Balzer Designs stencil directly on my photo. I used my white sharpie poster paint pen to journal. We spend a lot of time in the car these days, so annoying.
Second page: College girls from UT wanted to study Avinash and I totally let them, ha! It was so cute listening to the 'research study' about apples and oranges.
I love the Basic Grey letters in the JBS kit. Just the perfect size and they have a serif and sans serif pack in the kit, which is great because I like a more eclectic look rather than each pocket matching. I also love the way the letters look lined up with an element in the photo, as if they are part of the picture for real.
I decided to use this Rome card because I'm sure we aren't visiting anytime soon and I really liked how the picture looked on the slant. I don't think I've done that in PL before.
I grabbed this screen cap of the muppet movie from Alamo Draft House because I didn't remember to save our tickets or anything. I added the text myself and quite like how it turned out.
Let me know if you have any questions. I use a lot of digital products, and created a FREE Printables board on Pinterest
to keep track (and, I work really hard to make sure that the pins there
are all 'live links' and not spam). As google reader comes to a slow and painful end, please consider following me on bloglovin' or feedly. I appreciate all of your support!
I am linked up with The Mom Creative for Project Life Tuesday. The PL kits I am using generally are the Seafoam kit and Midnight kit, with multi-pack page protectors. This week I am featuring the JBS Historian kit for July. Thanks for looking!
Jenni Bowlin Guest Designer!
So proud to share that I am the Guest Designer for July over at JBS Mercantile. I was completely non non-nonplussed when I got the email asking me to take part in their fabulous team for the month. Honestly, I couldn't believe it. I am truly honored to be working with this artistic, sincere, and just plain nice group of women! So grateful to everyone there, thank you!
I got the paper crafting kit, the mini album kit and the historian kit (for project life). You can check out my gallery there. Here are a few highlight of what I made with them.
Special thank you to the amazing and talented Lisa for making me my own Mercantile banner. I will treasure it always :))
Moon&Stars
This was the last layout I did, mostly because I knew what I wanted to do with this paper as soon as I saw it and therefore kept putting it off. I have had this phases of the moon layout idea in my head for a while and I knew these repeating globes would be the perfect backdrop. I would have used my silhouette but I wanted the circles to line up with the patterned paper and knew that would be hard to do the new-fashioned way.
So, I got out my trust old circle trimmer, which I happened to find very easily when unpacking boxes (why are the most random things the easiest to find when unpacking??). I made a grid on the back of the white paper and then started cutting out circles and partial circles. In case you are wondering this paper has 1 5/8 inch circles. I used my trusty kid made modern watercolor set to paint the moons.
Dumbo Hathi - Hathi is hindi for elephant and is what our daughter calls Dumbo, so cute. I have millions of Disney photos and doubt I will ever scrap all of them. (On the plus side, Walt Disney World likes my photos, what!)
I used all the kits for this layout. The stencil is from the papercrafting kit and is painted with more watercolors and a distress ink stamp marker in red. The D on the Basic Grey paper in the paper crafting kit was calling out to be stitched into my title. I added a little more stitching with some random white circles.
I snipped more tickets from this Basic Grey patterned paper to make a photo mat and added my writing to a carte postale journaling card.
Thank you so much for letting me share this :) I will be back tomorrow with the project life pages I made.
And, just another friendly reminder, since google reader is commiting suicide, please consider following me (on bloglovin') as alternative. (Name that movie!)
Monday, June 24, 2013
Project Life: Week 22.
This week: We did a lot more unpacking. We discovered the wildflower center near our neighborhood. And, I took a mini road trip with a friend down to Sea World in the middle of the week. Such a total blast, especially to do it in on a weekday. Also featured is our go to non-TV related indoor activity, painting up the huge roll of paper from ikea!
First side: I'm still catching up so it is tough to fill up the weeks when they aren't fresh in my mind. I use more filler cards but was really happy to find a place/not hoard this KP kit Sunshine card.
I actually pulled out some washi tape for a change to layer under this photo. I already like the look of white on kraft and the translucent color makes it even better.
This patterned paper is from Paislee Press, via Studio Calico. I cut up a different Studio Calico Project Life kit card for the speech bubble. Gotta remember to include Nandini's constantly expanding vocabulary. Flair is Ormolu and the calender stamp in Amy Tangerine.
I didn't love the way this photo looked after I printed it so I slipped a Crate Paper photo overlay on top.
Second side:
I made my own little 4x6 pocket insert with this wavey Atlantic patterned paper and a matching orangey grid paper. I really liked this simple stories Urban Traveler sticker and how it fit the whole way across the pocket. In a rare instance, I actually printed out this photo after I planned this pocket and cropped it to fill the entire width of the pocket to match the sticker.
Paislee press digital flair, tiny attached to the photo. Not sure there is much more to journal about this other than joy.
Favorite card of the week: Largely because of the Crate Paper Pier plastic letters, but also because big oak leaves really do make me feel like I'm about to dine at a fairy tea party.
Let me know if you have any questions. I use a lot of digital products, and created a FREE Printables board on Pinterest
to keep track (and, I work really hard to make sure that the pins there
are all 'live links' and not spam). As google reader comes to a slow and painful end, please consider following me on bloglovin' or feedly. I appreciate all of your support!
I am linked up with The Mom Creative for Project Life Tuesday. The PL kits I am using are the Seafoam kit and Midnight kit, with multi-pack page protectors, the monthly Studio Calico Project Life kit, and the Kelly Purkey kit. Phew, that's a lot but I like to mix it up, what can I say?
Be sure to click over and check out the new FYV workshop I'm contributing to this summer and giveaway!
Find Your Voice Blog Hop & Giveaway.
The Find Your Voice Summer
Storytelling Workshop kicked off today and to celebrate we're having a
blog hop with lots of giveaways! We're going to have a blast this summer
and we really hope you play along!
This workshop is about finding your storytelling voice. You are an awesome person with amazing stories, so this summer we're going to work together to find the most genuine and authentic way for you to tell those stories.
This workshop is for everyone! You definitely don't need to be a scrapbooker or paper-crafter to play along. We'll be telling stories through pictures, photographs, social media, prose, and more. The only thing you need is a willingness to become the author of your own story and the courage to step outside of your comfort zone.
What Find Your Voice Means to Me:
I am so passionate about this course because better telling my story, our story, is why I do all of this in the first place. I love playing with paint and paper, but a page means so much more to me when I record a real memory, an everyday moment or special milestone, in a way that goes beyond the basic facts. The story gives my scrapbook meaning and is a way for me to slow down time. I never want to worry about keeping my children little. I would rather watch them grow and do my best to record it along the way.
Join us this summer as we work together to find the most genuine and authentic way for you to tell your stories the way you want them to be told. We’ll be telling stories through pictures, photographs, social media, prose, and more. The only thing you need is a willingness to become the author of your own story and the courage to step outside of your comfort zone.
I can't wait to share my projects for this workshop in the coming weeks. Here are some of my favorite tools for telling our story. You can follow my blog on bloglovin' or feedly, or just find me on pinterest or instagram/twitter @nirupama01. I appreciate all of your support!
This workshop is about finding your storytelling voice. You are an awesome person with amazing stories, so this summer we're going to work together to find the most genuine and authentic way for you to tell those stories.
This workshop is for everyone! You definitely don't need to be a scrapbooker or paper-crafter to play along. We'll be telling stories through pictures, photographs, social media, prose, and more. The only thing you need is a willingness to become the author of your own story and the courage to step outside of your comfort zone.
What Find Your Voice Means to Me:
I am so passionate about this course because better telling my story, our story, is why I do all of this in the first place. I love playing with paint and paper, but a page means so much more to me when I record a real memory, an everyday moment or special milestone, in a way that goes beyond the basic facts. The story gives my scrapbook meaning and is a way for me to slow down time. I never want to worry about keeping my children little. I would rather watch them grow and do my best to record it along the way.
Join us this summer as we work together to find the most genuine and authentic way for you to tell your stories the way you want them to be told. We’ll be telling stories through pictures, photographs, social media, prose, and more. The only thing you need is a willingness to become the author of your own story and the courage to step outside of your comfort zone.
rukristin papercrafts: rukristin.com/
Jessica Bree: squarespace.com/ jessicabree
Emily Dismukes: emilymayhem. blogspot.com
Molly Porter: mollyfrances.typepad. com
Emily Hathcock: www.elephantgrace. com
Lisa Wilkinson: www.createfor7. blogspot.com
Veronica Milan: blog.chictags.com
Michelle Wear: table-for-five.com
Laura Kate Is Crafty: laurakateiscrafty. blogspot.com
Jen Ritchie: www.jenritchie.com
Allie: www.alexandraraedesign. com
Katie Stories: katie-stories. blogspot.com
Shay Tibbs: sbookinshay29.blogspot. com
DeeDee Catron: umwowstudio.com
Megan Anderson: www.thenerdnest.com
Nirupama Kumar: avinashhecker.blogspot. com ------ YOU ARE HERE.
Eden Hensley: www. theroadtothegoodlife.com
Margrethe Aas Johnsen: http:// onelifedocumented.com
Giveaway Time!
a Rafflecopter giveawayI can't wait to share my projects for this workshop in the coming weeks. Here are some of my favorite tools for telling our story. You can follow my blog on bloglovin' or feedly, or just find me on pinterest or instagram/twitter @nirupama01. I appreciate all of your support!
Around here.
We have been busy.
Playing outside in the water with Nani, in between her unpacking and helping me.
Looking for rocks.
Learning to swim (again).
Putting out flowers.
Getting scare lessons (like she needs them).
And, just hiding out, enjoying the start of summer and exploring our new city.
With Avinash out of school, I think we go somewhere around the city almost every day. It has been a lot of fun, but also leaves me low on energy. My mom's visit definitely helped and she will be sorely missed by all. Sometimes I don't realize how much I miss her home cooking and how good having her around makes me feel.
I have lots of new projects in the works. I hope you will come back over the next few weeks and check them out!
Saturday, June 15, 2013
New JBS projects
I have a new project up on the JBS inspiration blog today. I love making full die cut backgrounds for pages. The JBS ones really appeal to me because they are graphic and fresh, and really fun to juxtapose with those classic JBS designs!
When I saw this old red barn, I knew I had to stage a mini-photo shoot for my kids in front of it. I used the red cross cut file and patterned paper to create a fun background. Because I didn't want to lose all of the lovely red of the red cross design I offset the cut from the pattern a little. I used a dictionary album stamp across the middle and some perforated tag paper to frame the photos. I haven't known what to do with this cute 'boy meets girl' paper for a while, but I like how it looks cut apart. I'm still debating about if I should color that boy in to make him look darker. I added a subtitle with red skinny alphas and some flag stickers to each photo just for symmetry.
I have to say that I am loving being on the JBS team. Everyone is so nice and Betsy, the digital coordinator, is beyond encouraging. I am still in awe of the fact that someone so talented likes my work. So, thank you Betsy and everyone.
I also wanted to share a project I did last week for JBS. I just had so much fun with it. The kit I used was Stars and Flags. See? Totally pertinent because today was flag day and we otherwise didn't celebrate it, as
Avinash kept pointing out to me.
I used the flags to make huge banners and colored them in with watercolors. Want to hear my secret to watercolors? I use all those leftover cups of tea scattered about the living room to dip my brush in. My brushes get clean and I don't have to feel bad about wasting all that water. I'm weird I know.
Tuesday, June 11, 2013
Project Life - Week 21
This week: I flew back home to pick up Avinash and Nandini from my parent's house. I got some pictures off of my Dad's iPhone from the time they were away. We used all of Ryan's frequent flyer miles so we got great seats on the way back. As soon as we got back we headed out again for a road trip to Houston so we didn't miss Avi's dance recital. Best decision ever. They crowd went wild when he danced across the stage. Literally. I may have cried. And, of course, another farmer's market trip.
First Side: A lot of these pictures have a ton of glare. It's weird because our new place is kinda dark but I still can't get rid of the glare.
I used a lot of Basic Grey die cuts, which came with my KP and SC kits, here and there on my pockets.
These SC alpha stamps are 'shadow' stamped in grey on a SC kit card. Kinda fun for me to play around with some different stamping techniques.
These flashy letter stamps from Mama Elephant are another new favorite. Been waiting for the marquee/Budmo jig font to be made into a stamp forever.
I adore this picture my Dad took. Nandini picked it up from the floor (where I work) and said "Nana (mumble mumble) play!" I was so impressed that she recognized where the picture was from because he is not even in the picture. I kept the circle theme going with a wood veneer phrase.
Some new Elise stamps for Studio Calico. I used black archival ink to stamp on white washi tape, which could be a little more opaque for my taste but it does let the photo come through nicely. Added a little gold arrow too.
Second Side: More dance pictures. The 4x6 card is a printable from SC. The bottom left card uses a Paislee Press card and more BG die cuts and these white stickers as a title. I love to put simple titles on a few of the pockets.
I trimmed a kit card so the banner would hold the cork stickers. I tend to be quite literal in my phrasing, but I finally felt the 'kind of a big deal' phrase stamp was appropriate.
One of my favorite pockets, our farmer's market haul. I used white stickers (my PL favs) and a wood veneer camera. I love coloring enamel dots with metallic sharpies to the change the color.
Love this card from KP. I used my white poster paint sharpie to give the letters a white shadow.
The big moment! The picture isn't great, but how could it be? I kept it simple with a HS disco star and some wood veneer letters. I used a roll of ribbon to line them up in a circle before gluing them down. I have found that this tombow liquid glue works perfectly for wood veneers, esp the tiny ones like these. It doesn't clog up like glossy accents. It has a wide end that is actually the better than the pen tip because you hold the glue and dip the veneer on to the broad tip. Kind of like squeezing ketchup on to a fry when you are in the car, you hold the fry up to the ketchup packet so the ketchup doesn't go everywhere. Wait, doesn't everybody do that?
First Side: A lot of these pictures have a ton of glare. It's weird because our new place is kinda dark but I still can't get rid of the glare.
I used a lot of Basic Grey die cuts, which came with my KP and SC kits, here and there on my pockets.
These SC alpha stamps are 'shadow' stamped in grey on a SC kit card. Kinda fun for me to play around with some different stamping techniques.
These flashy letter stamps from Mama Elephant are another new favorite. Been waiting for the marquee/Budmo jig font to be made into a stamp forever.
I adore this picture my Dad took. Nandini picked it up from the floor (where I work) and said "Nana (mumble mumble) play!" I was so impressed that she recognized where the picture was from because he is not even in the picture. I kept the circle theme going with a wood veneer phrase.
Some new Elise stamps for Studio Calico. I used black archival ink to stamp on white washi tape, which could be a little more opaque for my taste but it does let the photo come through nicely. Added a little gold arrow too.
Second Side: More dance pictures. The 4x6 card is a printable from SC. The bottom left card uses a Paislee Press card and more BG die cuts and these white stickers as a title. I love to put simple titles on a few of the pockets.
I trimmed a kit card so the banner would hold the cork stickers. I tend to be quite literal in my phrasing, but I finally felt the 'kind of a big deal' phrase stamp was appropriate.
I used little strips of silver washi and an initial to list our 'highlights' from the week. We saw this amazing sunset on the drive home from Houston and I had to use this Amy Tan rub-on with the reference to it.
One of my favorite pockets, our farmer's market haul. I used white stickers (my PL favs) and a wood veneer camera. I love coloring enamel dots with metallic sharpies to the change the color.
Love this card from KP. I used my white poster paint sharpie to give the letters a white shadow.
The big moment! The picture isn't great, but how could it be? I kept it simple with a HS disco star and some wood veneer letters. I used a roll of ribbon to line them up in a circle before gluing them down. I have found that this tombow liquid glue works perfectly for wood veneers, esp the tiny ones like these. It doesn't clog up like glossy accents. It has a wide end that is actually the better than the pen tip because you hold the glue and dip the veneer on to the broad tip. Kind of like squeezing ketchup on to a fry when you are in the car, you hold the fry up to the ketchup packet so the ketchup doesn't go everywhere. Wait, doesn't everybody do that?
Let me know if you have any questions. I use a lot of digital products, and created a FREE Printables board on Pinterest
to keep track (and, I work really hard to make sure that the pins there
are all 'live links' and not spam).
I am linked up with The Mom Creative for Project Life Tuesday. The PL kits I am using are the Seafoam kit and Midnight kit, with multi-pack page protectors, the monthly Studio Calico Project Life kit, and the Kelly Purkey kit. Phew, that's a lot but I like to mix it up, what can I say?
Thank you so much to
everyone in this wonderful community. I love all the feedback and looking at
everything people do each week. It definitely keeps me motivated. Also, please
include a link to your projects below so we can check them out too.
Subscribe to:
Posts (Atom)