Wednesday, May 4, 2016

Cinco de Mayo | Party DIY Ideas

Taco trucks, cactus, and flower banners galore. And a margarita machine for the parents too.  What else could you need for an awesome Cinco De Mayo Party? 

Well, it was actually a Cinco de Nandini of course.  She may be five but she is still 100% our baby. 

The set up | After coming up with our color scheme I added as many fun details as I could.  We used colorful table clothes.  I purchased fabric that I can use again for other projects and borrowed some Mexican Yoga Blankets.  

I bought tiny little cacti to place on the cake table.  I tried to corral them on a shelf so kids wouldn't touch! 

I filled up glass apothecary jars with chicles I got at fiesta.  

The dollar spot had the perfect Mexican-themed little pails to use for party favors.  We filled them with maracas and little beach balls. 

 I spotted this foldable taco truck on-line and had to get it for the party.


Bottles of Jarrito and berry baskets of limes made for good table decor.  I added sand and shells to tie in to our beach theme.

I picked up this marquee seahorse from Target's awesome new Pillowfort collection (my fave!).  Love how it tied in with our seahorse piñata too.

I used a combo of Martha Stewart flower kits and tissue paper to make this pom-pom flower garland.  It added so much texture and color to the cake table.  So happy with how this turned out.


Cactus DIY | I had to have some more cactus as well.  And fringe.  Fringe makes everything better.  I cut out the cactus shape from some more big cardboard boxes.  I freehanded traced the shape in pencil and then cut around it.  Cardboard isn't the easiest to cut, but because I was covering the whole thing in fringe a few jagged edges didn't matter.  I cut many long strips of forest green and chartreuse green tissue paper to use.  I used spray-on glue on the cardboard and started adding my strips of fringe.  I just ripped the strips to fit across and folded the extra around the back.  I used gold glitter washi to add some extra sparkle to it.


The Activities | We had a bounce house for the kids.  This was a huge attraction.  We also set up a table with seashells and paints for the kids to decorate.  We tried to make a huge sandcastle for the kids to decorate.  I took a huge cardboard box and then we set out glue, mod podge and buckets of sand.  It didn't really look like a sand castle but the kids had so much fun with it.  


Of course we also had our photobooth and fun props to play with and the piñata at the end.  Wow, we were busy! 


I also did some Mexican Sugar Skull inspired face painting.  I loved the faces with flower on them, but most kids wanted to be a sugar skull cat or a sugar skull dog, ha! 

The Food | Yummy Mexican food of course.  And this adorable veggie octopus that my friend Farya made.  She is so creative. I used these Cinco de Mayo Printables which I recolored to suit our party theme.  You can download them for free here.


Fiesta 1

Fiesta 2

I printed them out and then pasted them onto cards so they would stay put on the tables.


Happy Birthday my baby girl!! 


Wishing you guys a fantastic Cinco de Mayo!  Hooray!


See all my posts about the Mexican Beach Fiesta here:
Planning
Photobooth

See my other parties here.

Tuesday, April 19, 2016

Project Life Ideas | 2016 Title Page

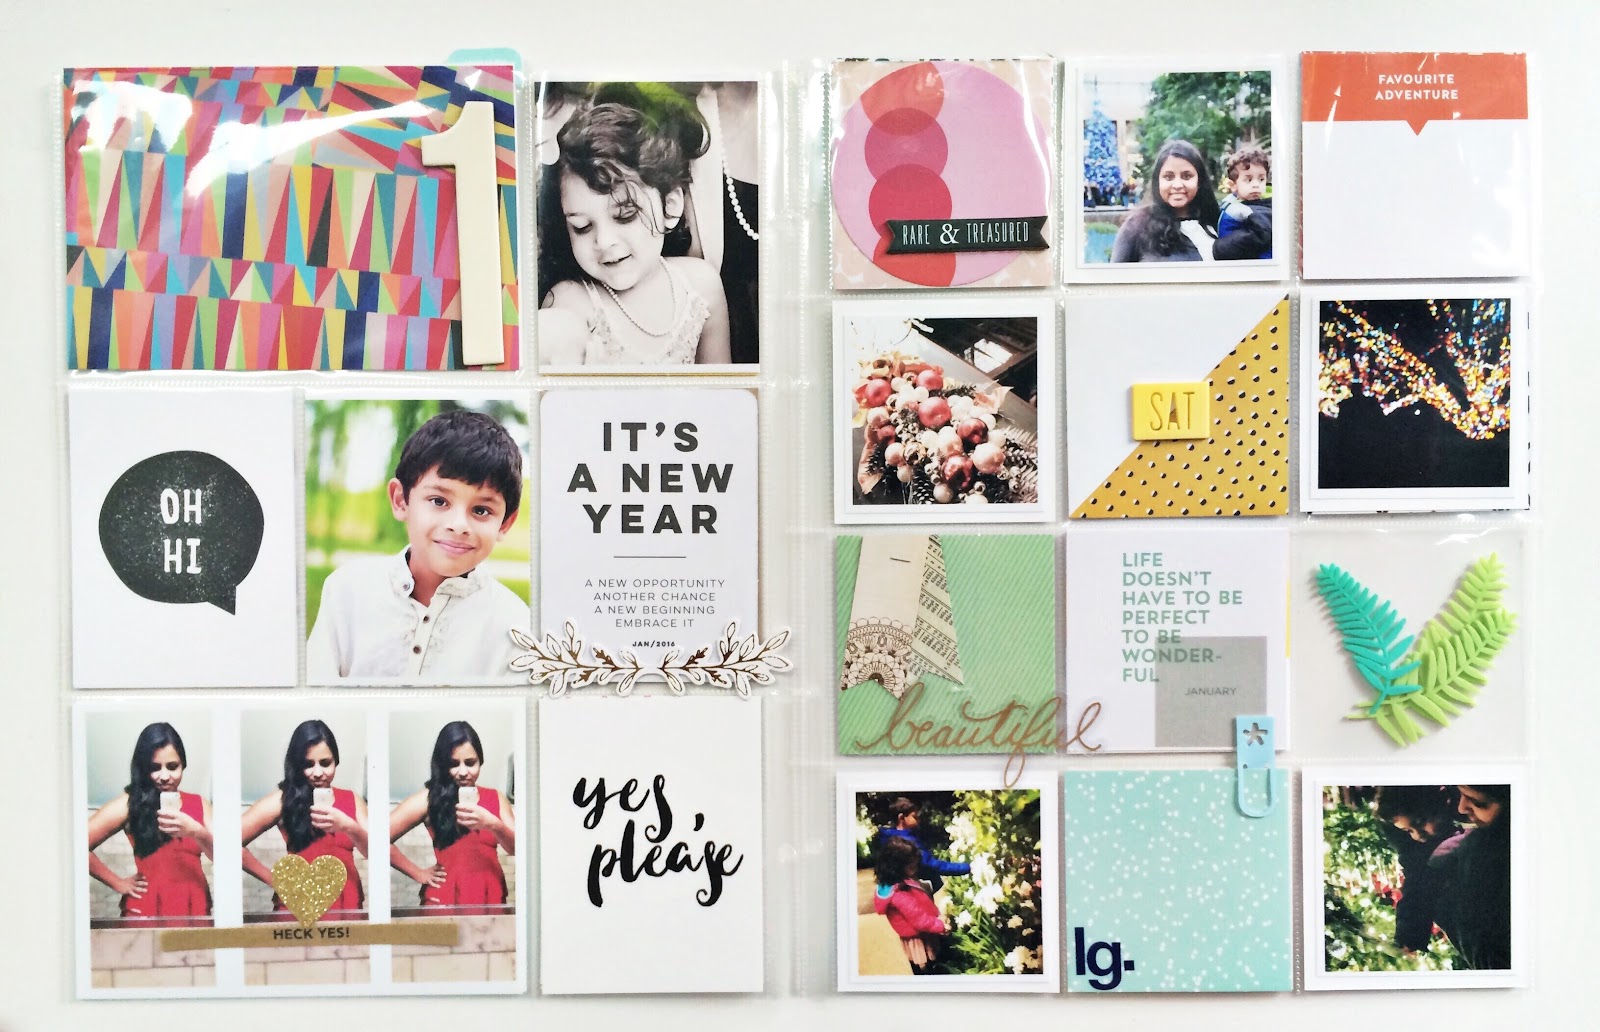
Project Life managed to hook me back in this year somehow.  I just love all the cards and kits and everything.  I'm always so happy when I look through old albums at all the memories we have recorded. 


This year I was very lucky to have some nice family photoshoot pictures (from September) to use on the title page.  

A few pops of color balanced with a lot of neutrals - kraft and black and white patterns.  That yellow five card feels like it was made for us. 

I love this funky numeral patterned paper.  I stamped the H on cardstock and fussy cut it off.


I made a back to the cover page too because, well, I can.  (Still better than in 2014 when I made three title pages apparently). 

I decided to be really self indulgent and include my favorite recent selfie.  I don't take a lot but c'mon, that dress! 


Another really fabulous colorful card on this page.  The rest are pretty simple black and white cards.  Since we are Heckers, I had to use the "Heck Yes!" word strip on here.  My style has definitely gotten much simpler over the years but that's okay.

The other side of this page is a lot more colorful, and I like how it all comes together.  I think all the literal white space helps.

I have caught up with the first few months of project life and will be sharing more ideas here soon.


Saturday, April 16, 2016

A Day in the Life| 2016 Album

A Day In the Life, recorded. 

I love this project.  I recorded many of my thoughts and photos from the day I documented this year in March on my blog here.  

I used a Studio Calico 6x8 handbook album to put my project together.  I plan on documenting my day along with Ali Edwards every few months.  I'm hoping that will be more do-able than monthly.

I did get the Ali Day in the Life kit to use as well.  It's a super affordable little kit, but it came with a great roller time and date stamp and some cards and circle chipboards as well.  I used several of the Story Kit Stamps as well.  The rest of the cards and embellishments are mostly kit club leftovers.

I kept the title page pretty simple, but the colorful 4x6 card really made it stand out. I used kraft alphas for the title.  A big thing for me in mini albums is repetition, so in addition to kit items I repeated the kraft throughout using word strips.  I also repeated the cork heart in several places.

I love the graphic look of these black and white cards together. 

I used photoshop to add an inch of white space to hold my text on my photos.  I used Bebas Neue for the times and Courier New for the text.  It seems basic but I like the typewriter look it has without being too fussy. 

I added my own handwriting to several of the cards as well.  I always sstruggle iwth teh way my writing looks so I tried several different approaches.  

I added the white script on my foot photo in photoshop as well.  

 Grey tags are another element I tried to repeat in this album. I like all the white space with pops of color on this spread.


Lots of different handwriting mixed together.  Cursive, careful printing and messy text all on one spread.  I used the time stamp here again.


 Simple details.  The picture of the three of them on the bed is the only picture I really asked them for all day.

I slipped a chipboard arrow next to the text over the photo this time.


 A little quote from Lakshman.  I always love recording those, and I need to be better about it next time I do this.


Love leaving one pocket see through with the translucent moon paper there. Most of the text is taken directly from my blog post.  So thankful I wrote that while it was still fresh. 

 I ended the album with a picture of Avinash that I cropped to fit a 3x8 protector.  I printed the photo on a 5x7 photo and then added an inch of text to the bottom.

Somebody spoke and I went into a dream ... 

To be continued.

See all of my Day In the Life projects here.

If you are thinking about getting into scrapbooking, may I suggest Day in the Life?  It is a highly fulfilling project that can be completed quickly.  One day of pictures and writing and then just a few days to put it all together.  You can repeat this project every year or even every few years and get a great snapshot of what life is like recorded for yourself and family.
Related Posts Plugin for WordPress, Blogger...